Showing posts with label fringe. Show all posts

Monday, April 23, 2012

Beaded Tassel Earrings - Tutorial

I was inspired by some earrings that I saw on Pinterest and decided to try my hand at making something similar. They are beaded tassels. I made two pair and changed the process slightly after the first. I'll show you both methods here, in case you'd like to try them yourself.

You'll need two cones from the jewelry finding section at your local craft store. An assortment of embroidery floss and the beads of your choice. Other findings in the first pair included 2 jump rings, and 2 eyepins.
I wanted purple, grey and black, so that's my embroidery floss choices for the first pair. Cut your floss to lengths. You'll double each piece, and I'd rather cut off extra than have something too short, so I probably started with 12"-14" strands. Once you've got your floss strands cut divide them out for the two earrings, then put one grouping through each jump ring. You want them stationary, so take an extra piece of coordinating floss, wrap and tie it tightly up against the jump ring. 
I opened the eye on the eyepin and hooked it through the jump ring too. Then I tested it to make sure the entire jump ring would go inside the cone. At first it didn't, so I took my needle nose pliers and squeezed the jump ring until it did. Then, just to keep it from sliding out while I was beading, I bent the pin over to hold it in place.


 I wanted this first pair a little fuller, so I split each strand of floss in half to three threads each, (as you know, embroidery floss starts out as six threads). Now decide on your beads. I went through my seed bead stash and picked out the colors I wanted and just dumped out some into a shoe box lid. I didn't want the beading to be uniform, so I just made a pile. Then I was ready to start adding the beads to the tassel strands. 
Now, here's where my trial and error might help you. I was making my finger tips raw trying to wet and twist the ends of the floss so it would go through the tiny sead bead holes when I decided to try some school glue and it worked like a charm!
Squeeze a dollop out on a piece of cardboard.
Drag the end of one of the tassel strands through the glue.
 Twist the glued end and let it dry for about 30 seconds. (I would glue and twist 10 or so strands at a time then bead those all at the same time then glue more strands and bead, and so on.)
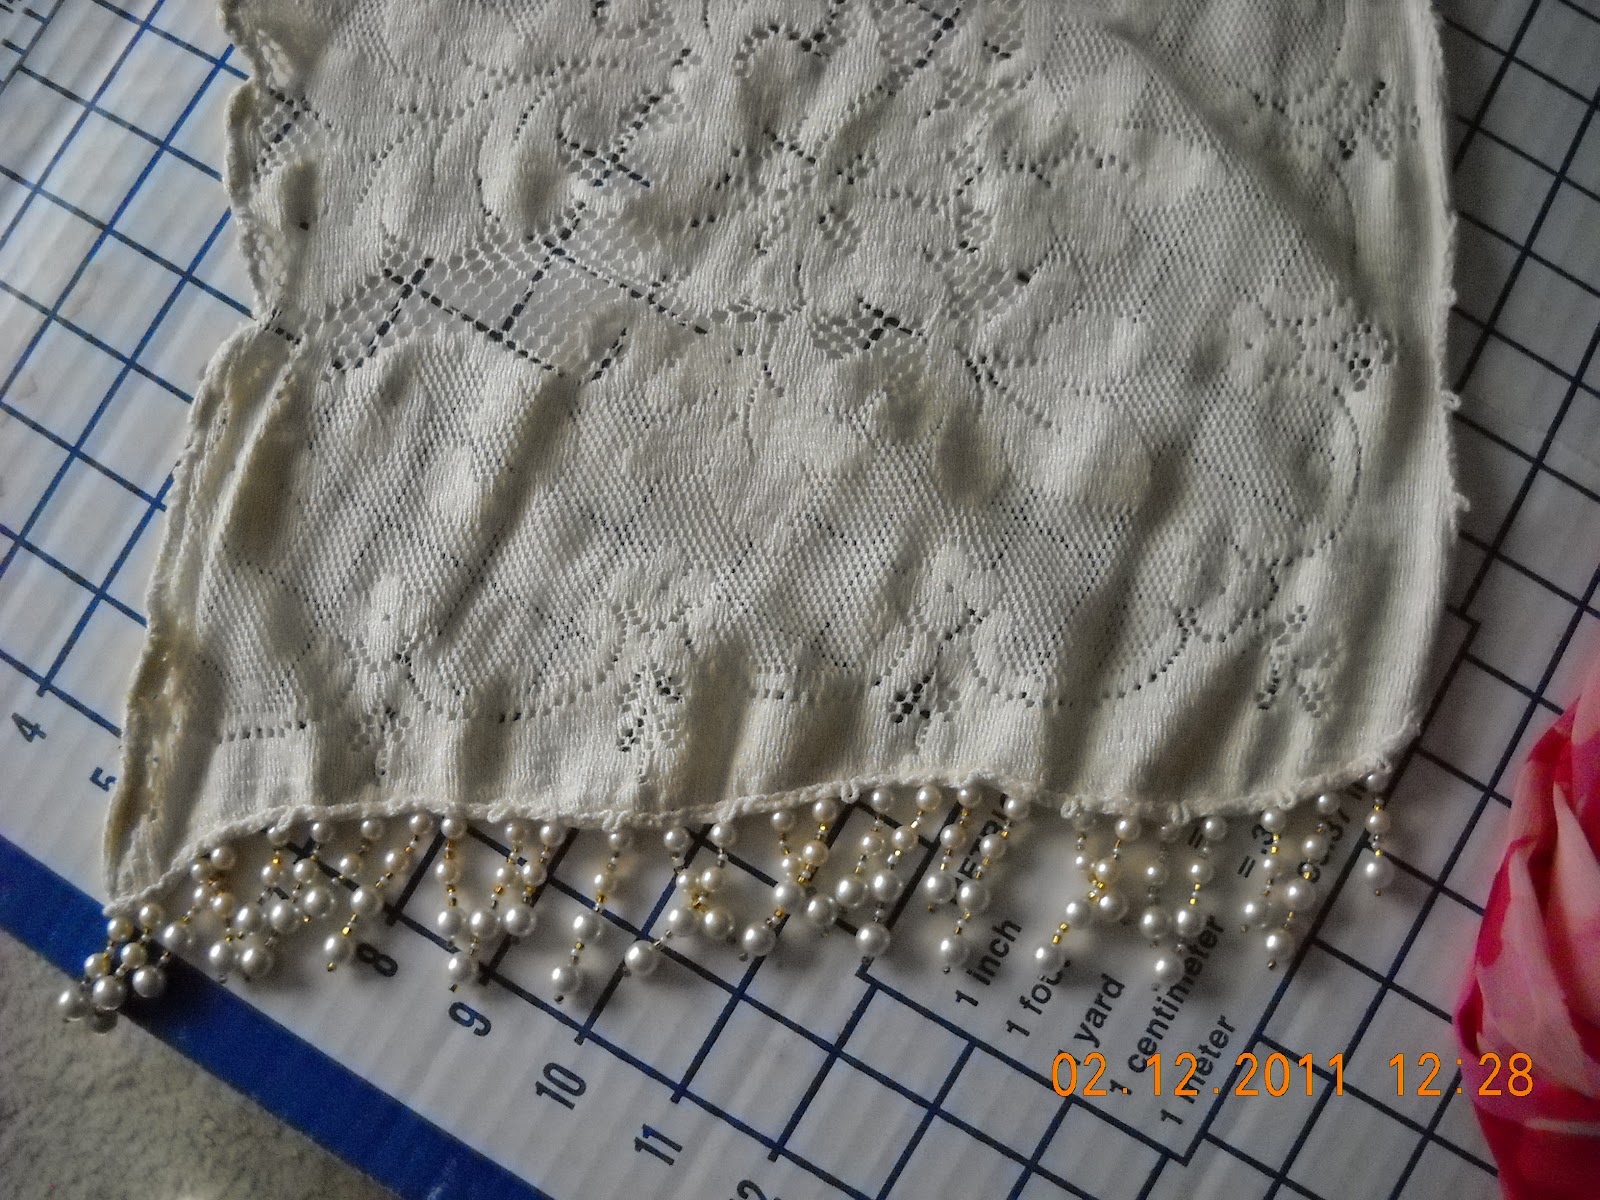
The process that seemed to work the best for me was, bead a strand, slide them up, figure out where the knot should go. Tie it, clip the excess thread away, then slide the beads down to the knot.


 Keep doing that until they're all done. Then repeat for the second earring. I just used my judgement on the length of the strands, I didn't want them exactly uniform, so I cut them accordingly. When I started on the second earring I kept the first completed one handy and just used it as my gauge for determining the lengths of the strands on the mate.
Cut off the excess pin length, bend it into a loop, and hang it on your earring wire.


For the second pair, I wanted to make them red, white, and black. I also wanted to bead the entire strand of floss and make this pair slimmer.


Because of the excess that I cut off on the pin on the first pair, I decided to try it without using a jump ring. I uncurled the eye at the top of the pin, just straight enough to go through the top of the cone. I formed a bigger oval shaped loop on the other end. Make sure it's thin enough to fit all the way into the cone.

Select your embroidery floss and cut the strands.


Divide them.
Put one group through each of the altered pins. Don't forget to tie it off to secure them.

Insert the threaded pins into the cones and re-form the loops at the top.
Glue the ends and twist them tightly.

 Select your beads.

 Start beading the strands.
 Decide on the lengths, tie the knots, clip the excess floss, and slide the beads back down to the knot on each strand.
 Hang the finished tassel on your choice of earring wire.

Then repeat for the matching one. Use the first one as your gauge on the length so they match.
If you try to make some for yourself, be sure and let me know. I'd love to see your creations.


Thanks for stopping by!


I'm linking up at Debbiedoo's Newbie party and all the others listed on my Link Parties page.


Monday, September 5, 2011

Brought to you by the letter H

I've had a busy holiday weekend. Our hot water heater went out, so we had that ordeal to deal with... ok, that's a bit of a stretch. The hubs is really the one who dealt with it. But I did go back to The Home Depot to get a thing-a-ma-bob during the installation. Don't ask me what it was. Luckily there were two and he had one, so away I went with it in my hand, showed it to the salesman and declared, "I need one of these". But, thanks to my handy hubby,  now we're good as new in the hot water department.

I wanted to try my hand at making Gypsy Carpet bags. I just love the feminine look of them. I have a lot of vintage linen and lace in my fabric stash, so it's a good use of that too. Here's the first one I made. I finished it about about a week ago.
 I added a piece of vintage jewelry to this one. The flowers are the satin ones where you burn the edges to curl them and stack graduated sizes of circles. I had some vintage floral tapestry fabric that I used for the purse base and handle.

Today I finished up another one. 
I think I like this one better than the first. I looked up how to make ribbon by cutting woven fabric on the bias. I had linen pieces left from where I had cut away lace corners to applique on other projects, so I was able to use up the remaining linen by cutting strips that I made into the fringe. I used the same method to make fringe of some more of the seafoam green sheer fabric that I ruffled on the first bag. I'm really happy with how this turned out.

Then I was back in Home Depot this afternoon. The hubs needed a piece of lumber to fill an order he had for another barbed wire cross like this one.

So I guess this holiday weekend was brought to us by the letter H... Home Depot, Hot water Heater, and Handbags.
I hope you had a safe and happy holiday!

Tuesday, June 21, 2011

Scarves Galore

Here's some scarves that I made and little about each one.
 I found the chiffon fabric on a clearance table for $1.00/yd at Hancock.. Gotta love the clearance fabric!
 The beads are a mix of new purchased and some that I salvaged from taking apart vintage jewelry that was either broken or ugly. The beading was tedious but the results were really worth it. After making a few different ones from bought fabric I decided to try one from a vintage lace table cloth.


 All of these 'pearls' are from vintage necklaces that I disassembled with some gold and pearl seed beads mixed in. I did a different one with a heavier lace table cloth, but I sold all of them to coworkers. Lots of female family members of my coworkers got handmade scarves for Christmas last year. I suppose if scarves stay in style till next Christmas I'll be back in the business again!